Tuesday, July 10, 2012

Chateau Foix-- Saturday Donuts


Lemon-thyme Cupcakes with Blackberry Honey Glaze


I have been wanting to use the Vintage Bee Blackberry Honey Genevieve and Todd brought back for us from NC and thought two-bite cupcakes would be a good way to showcase the honey both in the batter and glaze.  Not to mention, the beautiful blackberries picked straight from the bush...
For the Cupcakes:
1/4 cup (1/2 stick) softened unsalted butter
1 cup all-purpose flour
3/4 cup granulated sugar
1 teaspoon baking powder
1/2 teaspoon baking soda
pinch of salt
3 tablespoons dried thyme (or 1 teaspoon of fresh thyme leaves)
1/2 cup milk 
1 large egg
1 teaspoon pure vanilla extract
1/2 tablespoon honey

For the Glaze:
1 1/2 cups powdered sugar
1 tablespoon Vintage Bee Blackberry Honey (or any flavor, really)
5 tablespoons heavy cream
dash of salt
Place a rack in the upper third of the oven and preheat oven to 325 degrees F.  Line a cupcake pan with paper or foil liners and set aside. I used minis.
Make the batter:  in the bowl of an electric stand mixer fitted with a paddle attachment, cream together butter, flour, sugar, baking powder, baking soda, pinch of salt, and chamomile leaves.  Mix on medium speed until the mixture is slightly coarse and sandy.  This takes about 5 minutes.
While the mixture beats, in a small bowl, whisk together milk, egg, and vanilla extract.
Pour half of the milk mixture into the flour mixture.  Beat until barely incorporated.  Pour in the remaining milk mixture, turn the mixer up to medium-high speed and beat for 1 minutes, until well blended.
Divide the batter between the 12 large prepared cupcake cups.  Fill half way.    
Bake the cupcakes for 17 to 20 minutes (or 12-14 mins for mini-cupcakes), or until a skewer inserted in the center comes out clean.  Remove from oven and let cool in the pan for 10 minutes.  Remove the cupcakes from the pan to cool completely before frosting.
Make the glaze: in a medium bowl, whisk together powdered sugar, honey, cream, and salt.  Whisk until smooth.  Use a butter knife (or my favorite--- a mini spatula) to spread the frosting on cooled cupcakes. 
Top with a blackberry. And devour.
Cakes last (wrapped) at room temperature for up to three days. Frozen un-frosted for 2 months.

Egg Pasta Ravioli with Cremini Chevre Filling


It's Friday and I have been ready to roll up my sleeves and get rolling (both pasta and bread) all week. Today, I made round two of home made baguettes using the Four Hour Baguette recipe from Saveur and decided to make home made egg pasta. I used to dread kneading dough and preferred using my mixer for this "laborious" part, but the past few years I have become rather fond of dough kneading. It gives a much better feel for the consistency and your chances of having too dry or too sticky dough are slimmer given you can feel the texture as it develops. With that said, the recipe for Egg Pasta is as simple as it comes.

Pasta Ingredients:
2 cups of flour
3 very fresh eggs
A drizzle of olive oil 
A quarter cup of warm water waiting in the wings

Ravioli Filling:
4 oz. Chevre (goat) cheese
6-8 cremini mushrooms- chopped up into tiny pieces
1/2 medium shallot- chopped into tiny pieces

Create a mountain of flour and burrow a depression in the middle.
Drizzle a splash of olive oil into the depression and carefully crack each egg into the hole 
Slowly work the flour into the egg, for about 10 minutes.

If the dough seems dry and crumbly, resist the urge to add any liquid at the start of your kneading. If after, a few minutes, the dough is still crumbly, drizzle a few fingertips full of water from the nearby cup. Use sparingly, as your dough can quickly become too sticky. 
During the kneading process, you add a teaspoon of kosher salt, and whatever other herbs you prefer. I added Cracked black peppercorns this time. 

Work the dough until you have a stiff, yet smooth ball of dough. 
Place the ball of dough in a bowl to rest and chill in the refrigerator for 30 minutes.
During this time, set up your pasta roller and saute the shallots and mushrooms in olive oil.
Let the pre-cooked mushroom-shallot mixture cool, then blend into a bowl with the goat cheese.
Add salt or herbs to taste. I added a pinch of truffle salt and fine herbes de Provence.

After 30 minutes, remove the dough from the refrigerator and split it into four balls, which are then pressed into flat disks.  
Roll each disk through the pasta maker as directed. I'm using the flat roller to make raviolis.
Once the pasta is rolled, set it aside in a dusting of flour to dry.

I use a ravioli press to cut the right shapes, so I lay out each ravioli sheet and dab a spot of filling about 2 inches apart. Laying a second sheet of pasta on top and press it closed around the edges. (Be careful not to squish the ravioli filling). 
Use the ravioli press (or a pasta cutter, or a knife) to cut out each ravioli, making sure the edges are properly sealed.

Bring water to boil and, when you are ready to eat, drop the raviolis into the gently rolling water for about 3 minutes. Use a slotted spoon to remove when they float. Home made pasta cooks very quickly and does not require much time in the water. Leaving them boil makes them starchy and increases the potential for the filling to ooze out.

The sauce is up to you. I sauteed some garlic scapes and sage in butter, pouring it over the raviolis as a sauce once the butter browned-- after about 3 minutes.

Bon Apetit!!

Monday, June 25, 2012

Hee Haw and Pass the Whiskey... "Pioneer Woman Cooks: Food From My Frontier'


Rewind to two months ago... I quit cookbook blogging-- forever. I have a lot on my plate and something had to give... until two days later, when I became hopelessly nostalgic and yearned for the good ol' days of double-fisting my camera and spatula. I already missed the idea of being sent wonderful cookbooks from Morrow Publishing (an imprint of Harper Collins) to test recipes and write about them for their blog, The Secret Ingredient (which you can follow on Facebook or subscribe to their blog). The very next day, I'm back in the saddle with a copy of Ree Drummond's latest tome, "Pioneer Woman Cooks: Food From My Frontier". My immediate instinct when first flipping through the cookbook is that she successfully evokes the romance of living on a ranch and having a cowboy for a husband. It's cute; interjected with family photos, silly captions, and seems user-friendly. It's an approachable cookbook.

I was excited to learn the Ham Sandwich (my friend and partner in culinary crime, Genevieve Reiner) was also slated to blog about the cookbook, so we decided to pool our efforts and make one big cowgirl feast. You can read Genevieve's take on our whiskified meal at her blog, Ham Sandwich Indicted. (She's a lawyer by day, foodie by night). Speaking of whiskified... it's not at all surprising that, as we giddily flipped through our cookbooks independent of one another, we each chose a recipe: Peach-Whiskey Chicken and Whiskey-Glazed Carrots... see the theme? Anyone who knows us, knows our taste buds lean toward the boozy. After deciding we need to represent another food group besides whiskey, we opted to include Panfried Kale, which ultimately ended up doused in white wine (like me). 

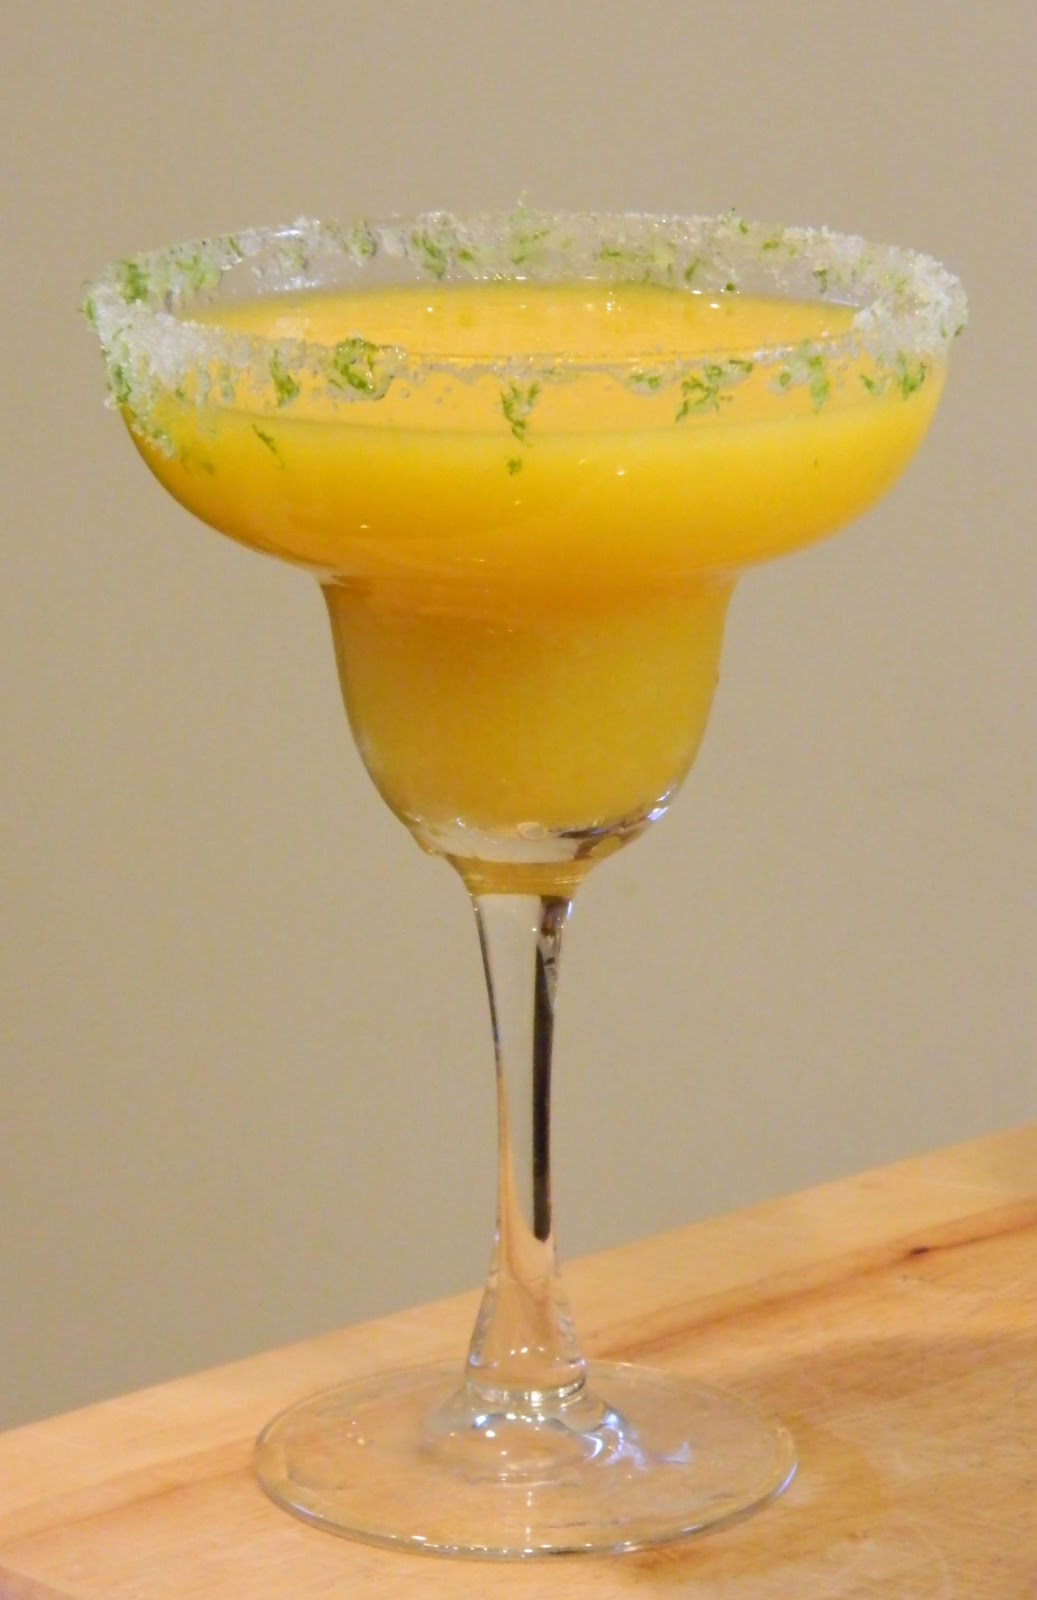
Mango Margaritas,  PHOTO: Shawnie Kelley Foy
One thing I appreciate about this cookbook is that Ree Drummond took all of the pictures herself (apart from a few). Another is the way it is formatted. I adore cookbooks that are well laid out. One of my biggest pet peeves is having to flip back and forth between pages to read measurements and such. Nearly all of her recipes fit on two facing pages or at least transition into the third page at opportune times. The recipes, in my opinion, are all pretty easy, so a quick perusal of the step-by-step photos were enough for us to have a good sense of each recipe. I definitely recommend this cookbook for people who are just beginning their foray into home cooking (and newlyweds- as Hillary Davis, another food-blogging friend suggests), as Ree includes homey, traditional  dishes, like rigatoni and meatballs (who doesn't like pasta and sauce?) to buttered rosemary rolls (which calls for frozen dinner rolls). The ingredients are accessible and recipes realistic to make on a Monday night after work... a refreshing change from the many cookbooks (which shall remain unnamed) that require loads of exotic spices, 20+ ingredients, and multi-tasking for one dish.

Mango Margaritas,  PHOTO: Shawnie Kelley Foy 
We were, in fact, so comfortable taking on three recipes, that we threw a fourth in the mix--- the Mango Margaritas. I am not a huge fan of margaritas, but I sure like mango; it seemed an appropriate drink for an 80 degree day in March. They were sweet and mango-y-- and we even left out half the sugar. I enjoyed the sugar-lime mixture used to rim the glass, which will no doubt find its way into this summer's patio drink repertoire.
Whiskey Glazed Carrots, PHOTO: Shawnie Kelley Foy
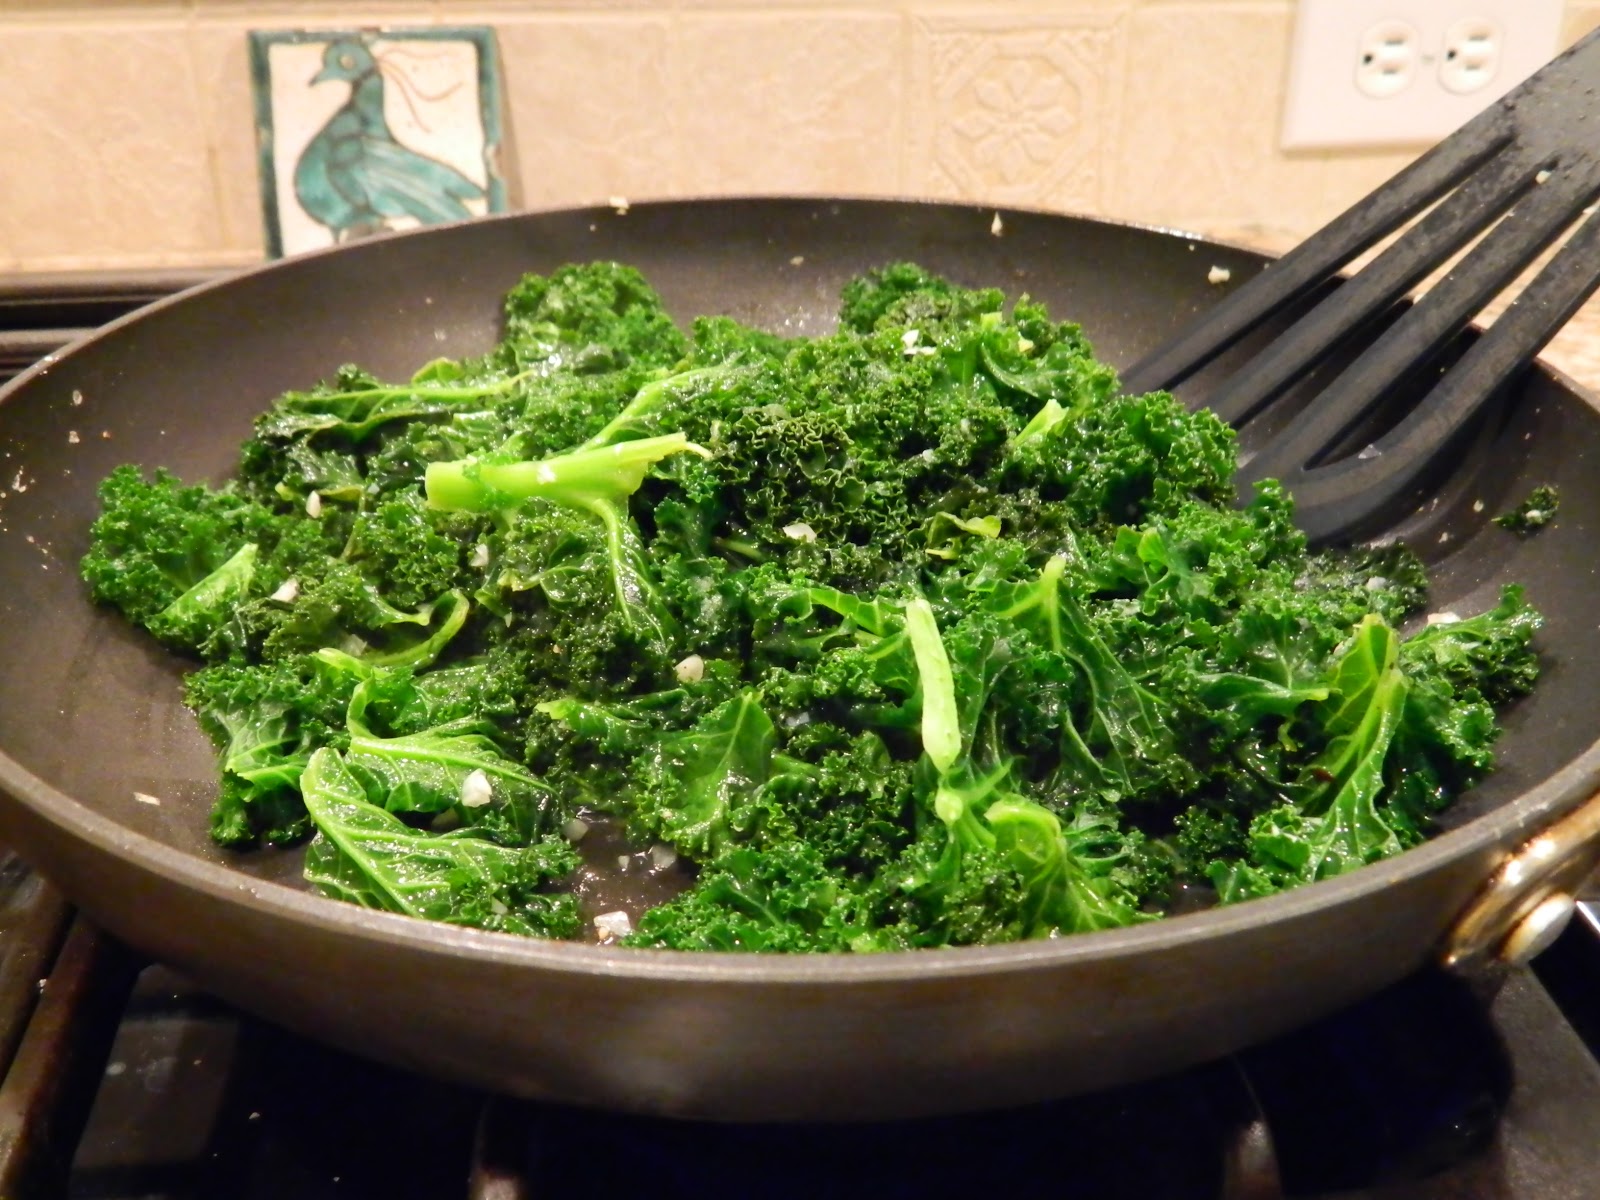
The carrots and kale were both straightforward to make. The carrots, cooked down in a buttery-brown sugar- whiskey mixture were positively delicious. I love butter. I love carmelized butter. And we even left out half of what was called for in this recipe only because we aren't nearly as active as all the cowboys Ree cooks for. If I were wrangling cattle and burning lots of calories during the day, I'd have no problem tossing in another half stick of butter. Regardless, the carrots were superb. The kale too. But, I'm not exactly sure searing kale in olive oil and garlic warrants a two page spread in the cookbook, but I appreciate her use of a green that is often overlooked in lieu of spinach or Swiss chard.
Panfried Kale, PHOTO: Shawnie Kelley Foy
We did as the recipe directed and let the kale cook down in a pan of olive oil and chopped garlic. Given that every other dish was soaked in booze, we tossed in a bit of white wine for good measure.... and because we are both a bit rebellious when it comes to following recipes. After searing the chicken (we used skinless chicken breast rather than legs) and simmering it in a whiskey- onion- (frozen) peach concoction, we let it slow cook in the oven for another 30 or 40 minutes while working on the veggies. The outcome was a delicious, down-to-earth plate of food, with rich, buttery flavors and a nice crunch-- and it looked pretty too. Not bad for Tuesday night.
The Whole Shebang PHOTO: Genevieve Reiner
Flowers from Todd Mills, PHOTO: Shawnie Kelley Foy
Todd, Kevin, Genevieve and my left hand.

I look forward to making several of the breakfast recipes: glazed donuts, Cowboy quiche, and Cowgirl quiche...  The cookbook also has a quick intro to canning, which will come in handy since this is the first year I am trying my hand at preserving. Stay tuned....

Thursday, May 3, 2012

Drinking with a French Accent, by Tasting Table


Rhône Star State

Washington wines turn to southeast France

Tasting Table: Wine


Napa does Cabernet and Oregon does Pinot Noir, but Washington State’s wine producers have been slow to claim their calling-card grapes.
We do have one theory about a burgeoning lodestar: France’s Rhône valley. Growers around Washington State have planted grapes from Riesling to Tempranillo, but the most interesting successes of late are bottlings made from Rhône varieties such as Syrah, Mourvèdre and Grenache and even the uncommon Counoise.
This growing movement could not be timed more perfectly: Rhône varietals naturally lend themselves to a warm climate, and many of the bottles emerging from Washington are primed for spring drinking.
Try Maison Bleue’s 2011 La Famille Rosé ($18 for 750 ml), made with Mourvèdre from the Yakima Valley. Styled on the bone-dry rosés of Bandol, this pale pink offering is unbelievably refreshing.
Pair any dish that has grill marks with the 2009 Rotie Cellars Southern Blend ($40 for 750 ml). The winery is named in honor of the Rhône’s Côte Rôtie region and it blends Grenache, Syrah and Mourvèdre from the Walla Walla Valley to make this plump, smoky wine.

Thursday, April 19, 2012

Ramp Confit, by Genevieve Reiner (aka Ham Sandwich Indicted)


RAMPING IT UP: Spotted this post on Genevieve Reiner's blog, Ham Sandwich Indicted and decided to share her creative way of preserving ramps...

PHOTO: Genevieve Reiner
Ramp season is rapidly fading, so last weekend I stocked up on a bunch while I had the chance.  Since I still had some pickled from last year, I decided to try something a little different.  Inspired by the almighty internet, I tried my hand at making a ramp confit. 

To confit something is to cook an ingredient in fat, then store it in that same fat. Most typically, meats are confited--duck or goose confit is fairly common, and while it sounds fancy, it's essentially duck pieces slowly cooked in rendered duck fat then submerged and stored in the cooking fat.  It is an ancient means of preservation, as the fat keeps out air and bacteria, and was used (back in the day) to store food without refrigeration.  Vegetables can also be preserved via confit, and there are recipes out there using mushrooms, onions and garlic.  With ramps being part of the same family as onions and garlic, it made sense to give it a go and try to hang on to ramp season a little while longer. 

I haven't cracked them open yet, but I'd imagine that after a week in their olive oil bath, the ramps will be delicious spread on a crusty piece of bread or served with a piece of grilled meat.

Confit de Ramps

1/2 to 1 lb of ramps, cleaned, roots removed and bulbs removed from the green leaves (save the leaves for another use...chopped up and folded into butter is a good one)
Olive oil
Salt and pepper

In a small saucepan, combine the ramp bulbs and a pinch of salt and fresh cracked pepper.   Cover the ramps with olive oil and place on on a burner at it's lowest possible setting.  Allow the ramps to barely simmer until they're soft, about 20 minutes.  Strain the ramps out into a glass jar and then top with the cooking oil.  Seal and keep in the refigerator until ready to eat.  They should keep for a couple of weeks at least.  Save the rest of the ramp infused oil to use in a vinaigrette, fry eggs, or as a dipping sauce for breads.  It would also be delicious drizzled over roasted veggies or as a finish on a pizza...

Saturday, April 14, 2012

Pommes Duchesse, by Camille Malmquist


Pommes duchesse

Pommes duchesse is not something you’ll find on the menu at many Paris restaurants anymore. That is a shame, because while this dish of puréed potato mixed with egg, then piped and baked to a golden crisp, may seem old fashioned, it is a delight.
Fortunately, it is not at all difficult to make at home. It’s versatile, too. Tiny kisses, piped with a star tip for a fancy touch, would make a great passed hors d’oeuvre at a cocktail party. Little puffs, simply spooned onto a baking sheet, are a fun alternative to french fries. Or you could go all out and pipe whimsical, decorative borders on dinner plates—it’s garnish and side dish all in one.
This is a classic pommes duchesse recipe, but the possibilities for flavor variations are multitudinous. Stir in some chopped fresh herbs or grated cheese. Add carrots, turnips, celeriac or other root vegetables to the mix (just keep it to about a quarter of the total amount). Sharp mustard or chili peppers would be good additions, too. It may not be exactly what they served in Paris restaurants of yore, but it will be yours.

pommes duchesse

Serves 4–6 as a side, more as an hors d’oeuvre.
2 pounds 10 ounces (1,200 grams) starchy potatoes, such as russet or bintje
3–4 cloves garlic, peeled
10 tablespoons (1¼ sticks or 150 grams) unsalted butter
fine sea salt and freshly ground black pepper
freshly grated nutmeg
2 eggs, beaten
1. Peel the potatoes and cut into rough 1-inch (2-centimeter) pieces. Bring to a boil in a pot of well-salted water with the garlic cloves. Simmer until everything is very tender, about 15 minutes. Meanwhile, preheat the oven to 420 degrees F (215 degrees C).
2. Drain the potatoes and garlic and return to the pot over low heat. Cook, stirring frequently, for about 5 minutes. The goal is to help the water evaporate and dry out the potatoes a bit before mashing them.
3. Add the butter to the pot and mash it with the potatoes to form a smooth purée. Season to taste with salt, pepper and nutmeg. Allow it to cool a bit (you still want it warm, just not hot enough to scramble the eggs), then stir in the eggs.
4. Scoop or pipe the mixture onto parchment-lined baking sheets or ovenproof plates. Bake until golden brown, 10–15 minutes. Serve hot.
Camille Malmquist is an American pastry chef living and working in Paris. In her spare time, she cooks and bakes at home (believe it or not), as well as tackles the difficult task of trying out as many restaurants and bakeries as possible, then she blogs about her food and travel adventures at Croque-Camille.